Lista rozwijana widoków została zastąpiona zakładkami widoków u góry kolekcji. Jeśli widzisz tylko menu konfiguracji (⋯) bez zakładek, masz jeden widok — dodaj drugi, aby zakładki się pojawiły.
Czym są widoki?
Widoki to konfigurowalne sposoby wyświetlania kolekcji. Każdy widok ma swój typ i zapisaną konfigurację:- Typ widoku — Tabela, Galeria lub Kanban
- Sortowanie — uporządkuj elementy według dowolnego pola
- Filtry — wyświetlaj tylko elementy spełniające określone kryteria
- Grupowanie — organizuj elementy w kategorie
- Widoczność pól — wybierz, które pola (kolumny w Tabeli, właściwości w Galerii) mają być wyświetlane
- Kolejność pól — ułóż pola w najbardziej przydatnej kolejności
Tworzenie i zarządzanie widokami
Zakładki widoków
Gdy kolekcja ma dwa lub więcej widoków, u góry pojawiają się zakładki. Kliknij dowolną zakładkę, aby natychmiast przełączyć widok. Gdy istnieje tylko jeden widok, zakładki są ukryte — użyj menu konfiguracji (⋯), aby zarządzać widokiem.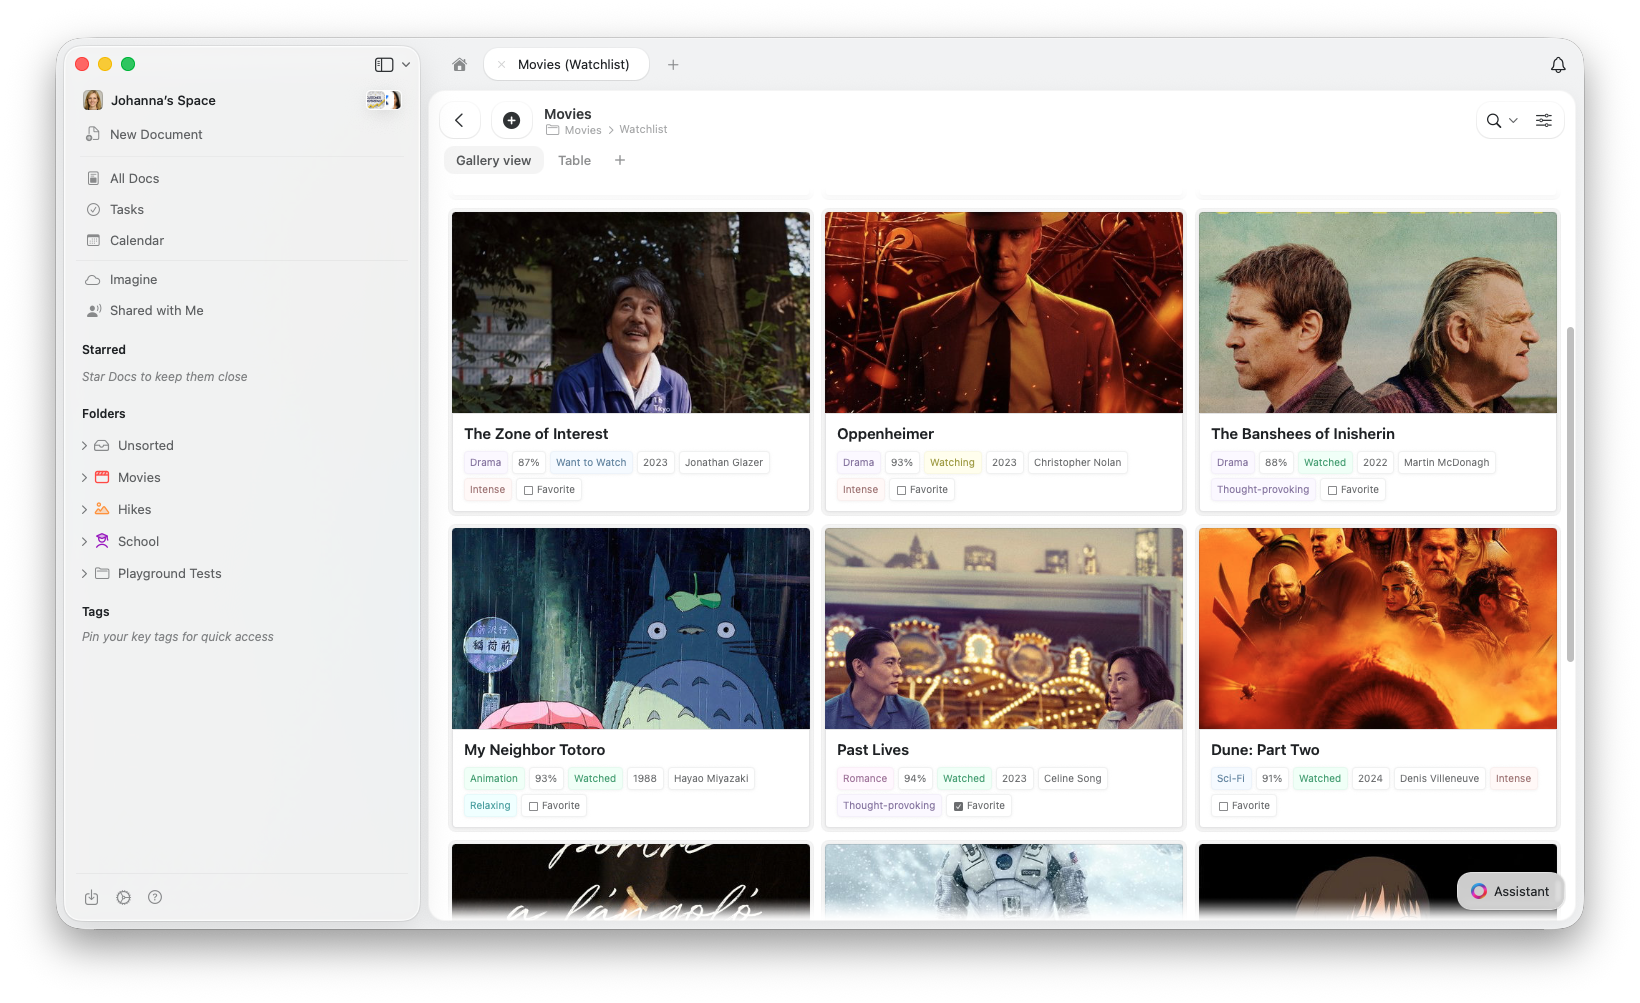
Tworzenie nowego widoku
1
Otwórz menu konfiguracji w prawym górnym rogu kolekcji (lub kliknij przycisk + obok zakładek widoków)
2
Wybierz Dodaj widok tabeli, Dodaj widok galerii lub Dodaj widok Kanban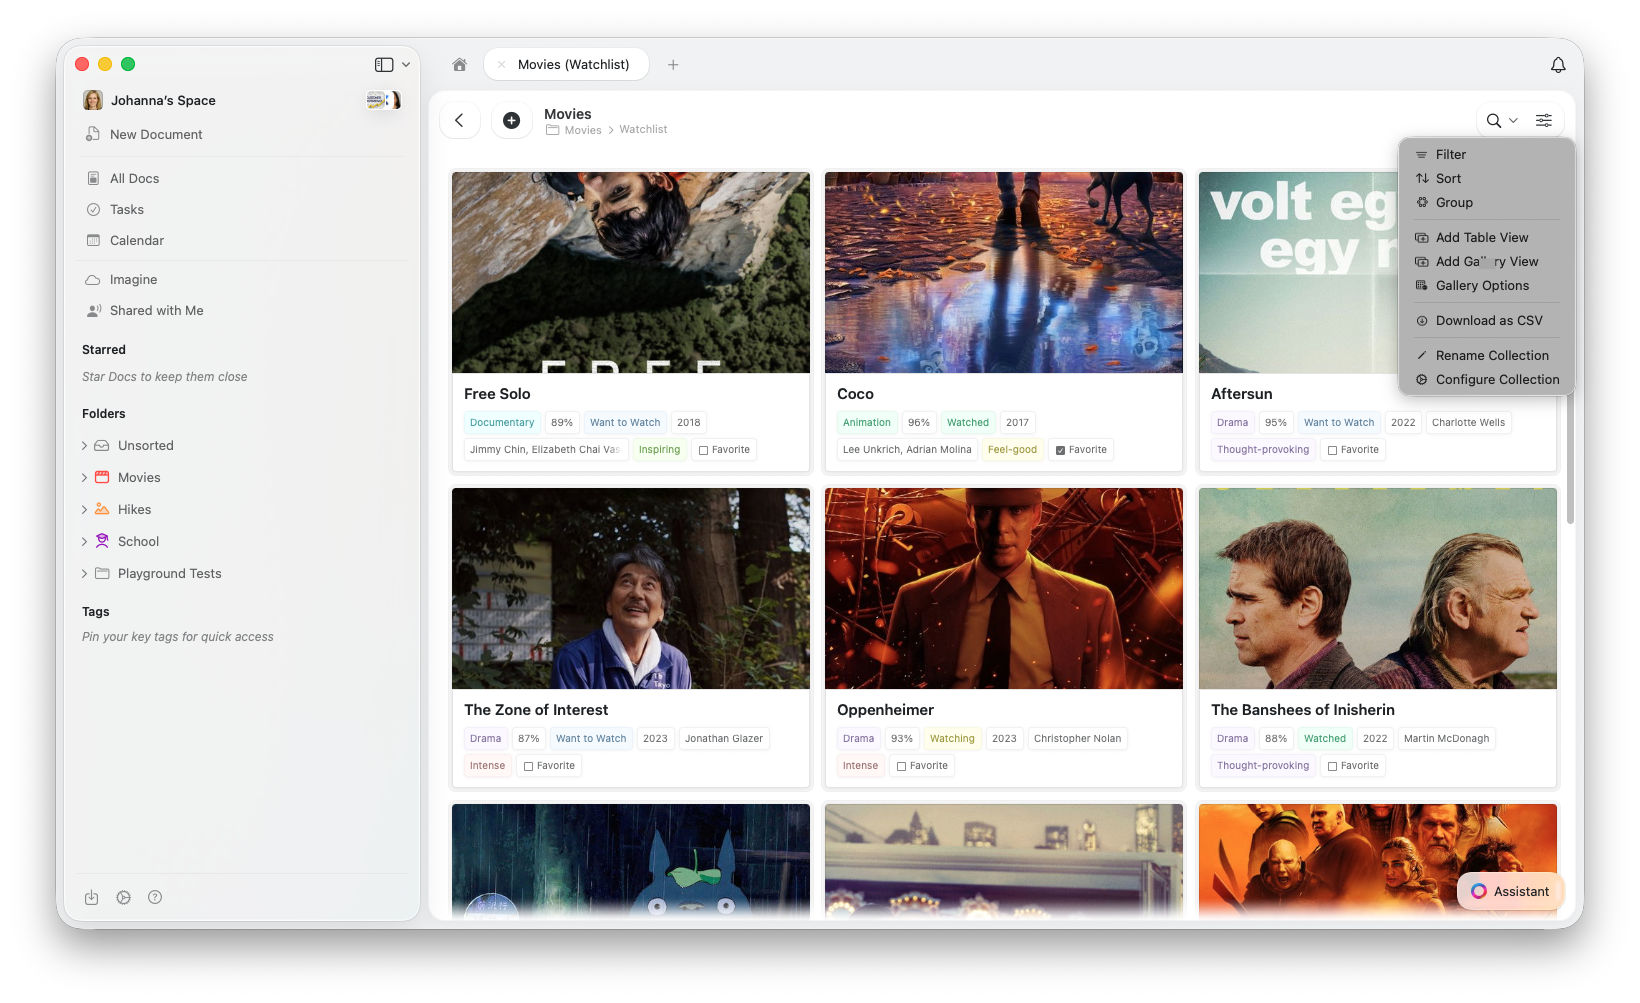
3
Nazwij widok i skonfiguruj go według swoich potrzeb
Przełączanie między widokami
Kliknij zakładkę widoku, który chcesz zobaczyć. Kolekcja natychmiast zaktualizuje się, wyświetlając konfigurację danego widoku.Zmiana nazwy widoku
Otwórz menu konfiguracji (⋯) i wybierz Zmień nazwę widoku. Wpisz nową nazwę i potwierdź.Duplikowanie widoku
Otwórz menu konfiguracji (⋯) i wybierz Duplikuj widok. Utworzy to kopię z tym samym typem, sortowaniem, filtrami, grupowaniem i ustawieniami pól — przydatne do tworzenia wariantów.Konwersja typu widoku
- macOS / iOS
- Web
Otwórz menu konfiguracji (⋯) i wybierz Przekształć w → Tabela lub Galeria. Bieżący widok zostanie przekonwertowany bez tworzenia nowego — istniejące filtry, sortowanie, grupowanie i widoczność pól zostaną zachowane.
Usuwanie widoku
1
Przełącz się na widok, który chcesz usunąć
2
Otwórz menu konfiguracji (⋯)
3
Wybierz Usuń widok
Wiersz obliczeń
Wiersz obliczeń dodaje stopkę do widoku tabeli, wyświetlając obliczone wartości dla każdej kolumny — np. sumę, średnią lub liczbę elementów.1
Otwórz menu konfiguracji (⋯)
2
Wybierz Pokaż wiersz obliczeń
3
Kliknij komórkę w wierszu obliczeń, aby wybrać rodzaj obliczenia dla danej kolumny
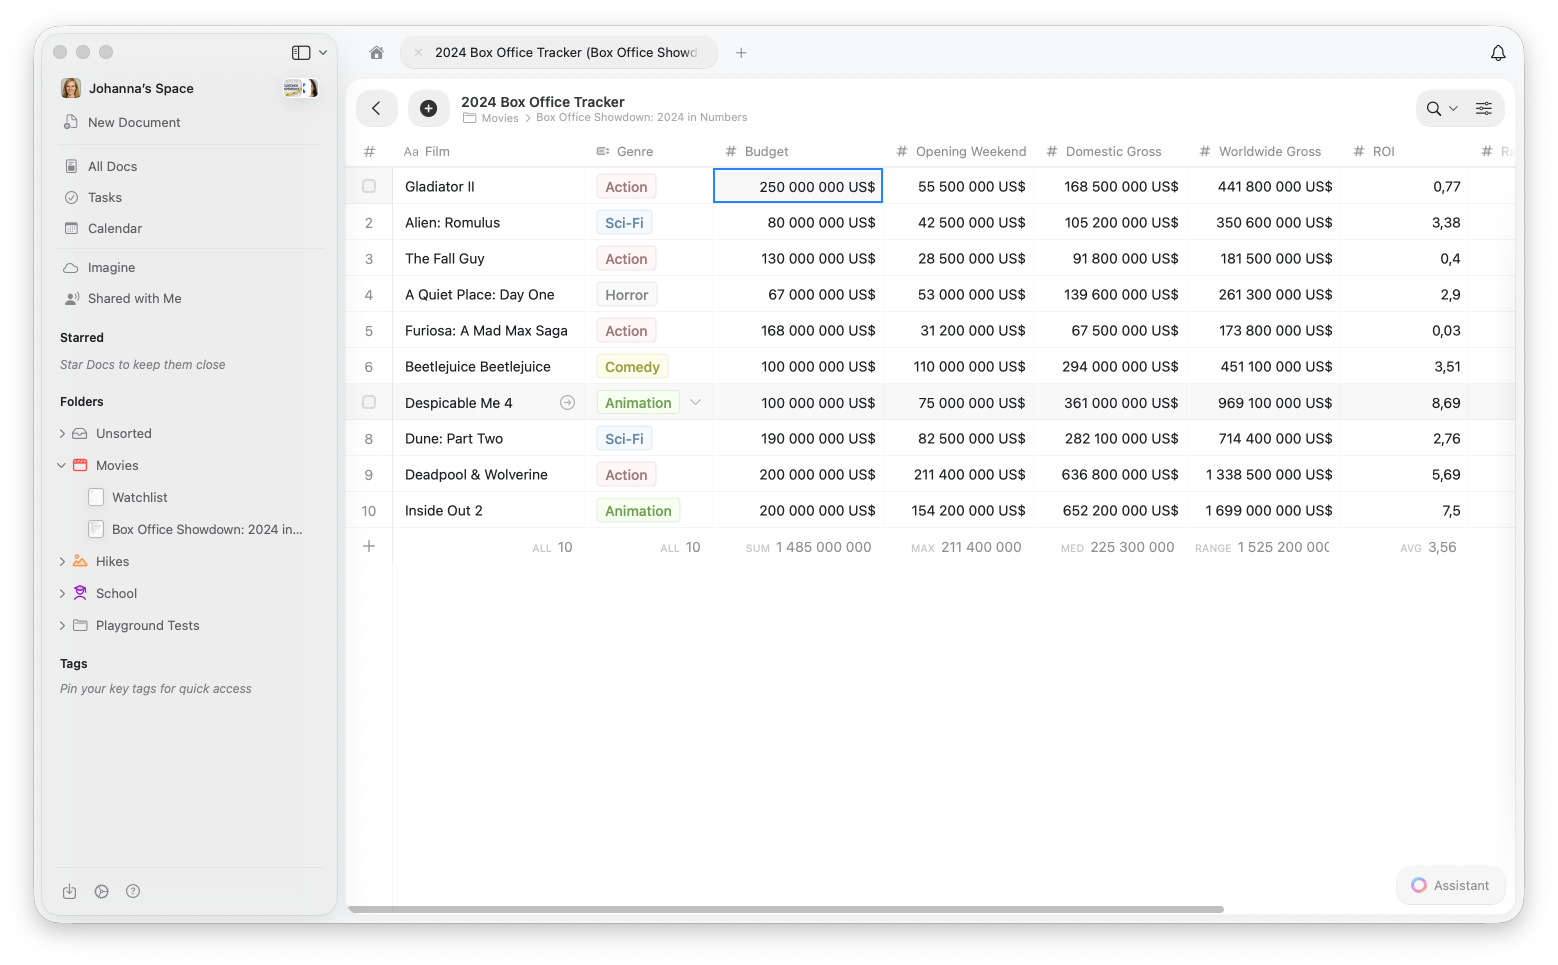
Wiersz obliczeń jest dostępny wyłącznie w widoku tabeli.
Sortowanie elementów
Sortowanie umożliwia uporządkowanie elementów kolekcji według dowolnego pola w kolejności rosnącej lub malejącej.Jak sortować
1
Otwórz menu konfiguracji (⋯)
2
Wybierz Sortuj
3
Wybierz pole, według którego chcesz sortować
4
Wybierz Rosnąco (A→Z, 0→9, od najstarszych→do najnowszych) lub Malejąco (Z→A, 9→0, od najnowszych→do najstarszych)
Wielopoziomowe sortowanie
Możesz dodać wiele kryteriów sortowania, aby uzyskać zaawansowane porządkowanie:1
Po dodaniu pierwszego sortowania kliknij Dodaj sortowanie
2
Wybierz drugie pole sortowania
3
Elementy zostaną posortowane według pierwszego pola, a następnie według drugiego, gdy wartości pierwszego pola są równe
Usuwanie sortowania
Kliknij X obok dowolnego kryterium sortowania, aby je usunąć. Możesz też kliknąć Wyczyść wszystko, aby usunąć wszystkie sortowania i przywrócić domyślną kolejność.Filtrowanie elementów
Filtry pozwalają wyświetlać tylko elementy spełniające określone warunki. To doskonałe rozwiązanie, gdy chcesz skupić się na istotnych danych.Jak filtrować
1
Otwórz menu konfiguracji (⋯)
2
Wybierz Filtr
3
Wybierz pole, według którego chcesz filtrować
4
Wybierz warunek (równa się, zawiera, jest puste itp.)
5
Wprowadź lub wybierz wartość do filtrowania
Wiele filtrów
Możesz łączyć wiele filtrów, aby zawęzić wyniki:1
Po dodaniu pierwszego filtra kliknij Dodaj filtr
2
Skonfiguruj dodatkowy filtr
3
Wszystkie filtry są łączone logiką AND — elementy muszą spełniać wszystkie warunki, aby się pojawić
Podczas filtrowania pola typu Wybór jednokrotny możesz zaznaczyć kilka wartości — wyświetlone zostaną elementy pasujące do dowolnej z nich. Działa to jak OR w obrębie jednego pola. Natomiast filtry dotyczące różnych pól zawsze łączone są logiką AND.
Usuwanie filtrów
Kliknij X obok dowolnego filtra, aby go usunąć. Kliknij Wyczyść wszystko, aby usunąć wszystkie filtry i wyświetlić wszystkie elementy.Grupowanie elementów
Grupowanie organizuje elementy w kategorie na podstawie wartości pola. Tworzy to przejrzystą strukturę wizualną, która ułatwia przeglądanie elementów według kategorii.Jak grupować
1
Otwórz menu konfiguracji (⋯)
2
Wybierz Grupuj według
3
Wybierz pole, według którego chcesz grupować
Najlepsze pola do grupowania
- Status — grupuj zadania według „Do zrobienia”, „W trakcie”, „Ukończone”
- Priorytet — organizuj elementy według „Wysoki”, „Średni”, „Niski”
- Kategoria — grupuj projekty według typu lub działu
- Data — grupuj elementy według miesiąca lub kwartału
- Wybór jednokrotny — każde pole wyboru doskonale nadaje się do grupowania
- Przypisany — grupuj zadania według osoby odpowiedzialnej
Ograniczenia
- Maksymalnie 20 pól niestandardowych plus pole Tytuł (łącznie 21) na kolekcję
- Filtry dotyczące różnych pól łączone są logiką AND (wszystkie warunki muszą być spełnione)
- W ramach filtra pola typu Wybór jednokrotny wiele wartości łączonych jest logiką OR (wyświetlane jest każde dopasowanie)
Powiązane artykuły
Kolekcje
Dowiedz się więcej o kolekcjach Craft i typach pól
Widok galerii
Wyświetlaj kolekcję jako wizualne karty z podglądem obrazów
Widok Kanban
Organizuj elementy w przeciągalne kolumny według statusu lub dowolnego pola wyboru
Zmiana kolejności pól i kolumn
Dostosuj kolejność pól i kolumn
Kolekcje na iOS
Kolekcje zoptymalizowane pod kątem dotyku na iPhonie i iPadzie