

Creating a New Space
- Mac
- Web / Windows
- iOS
- Android
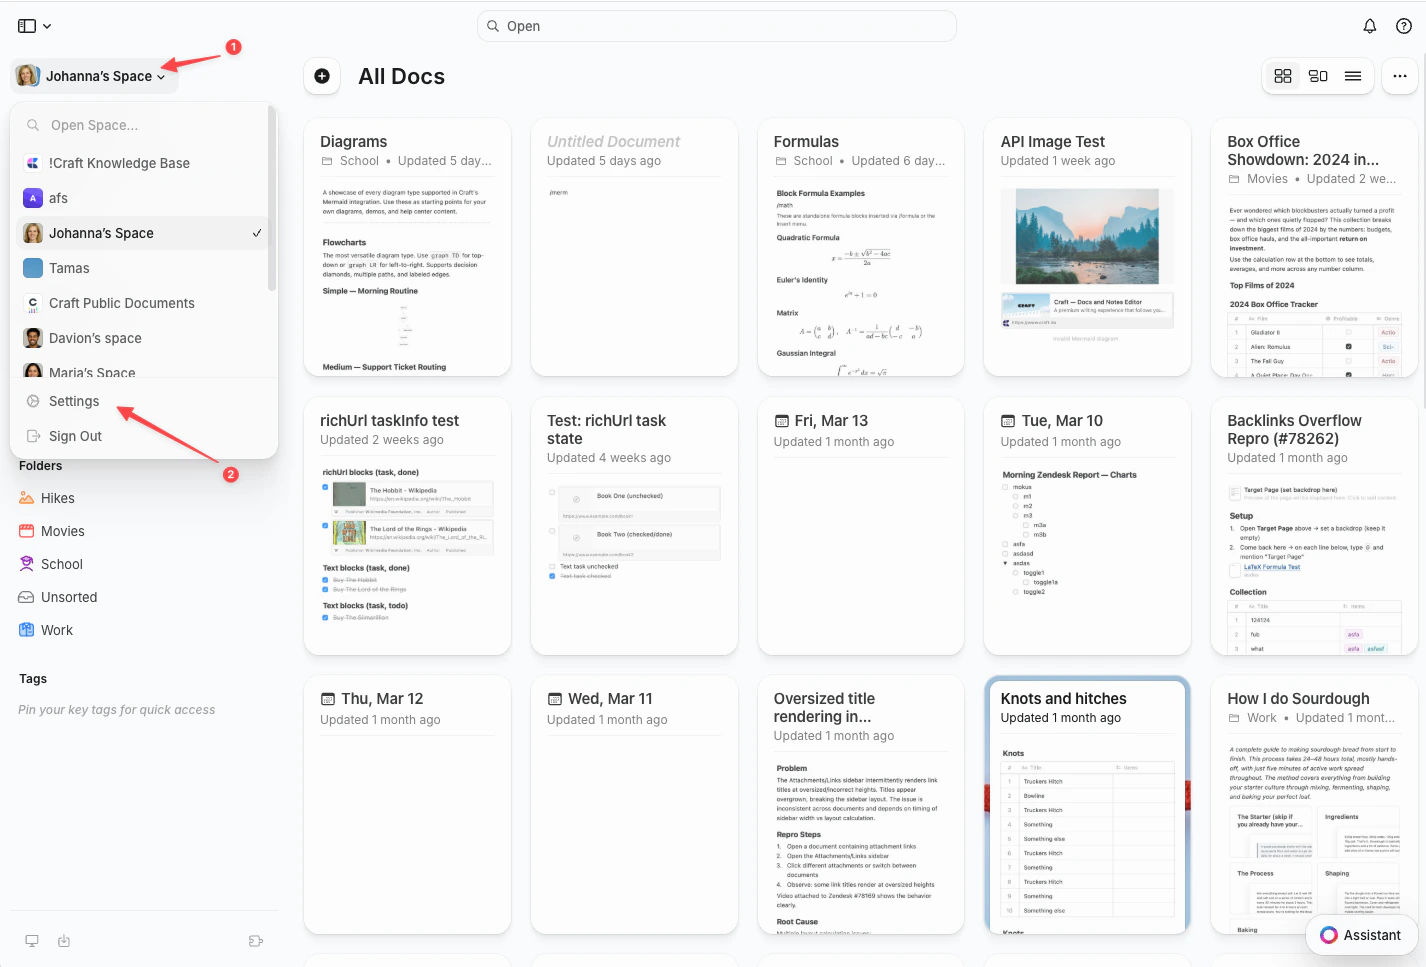
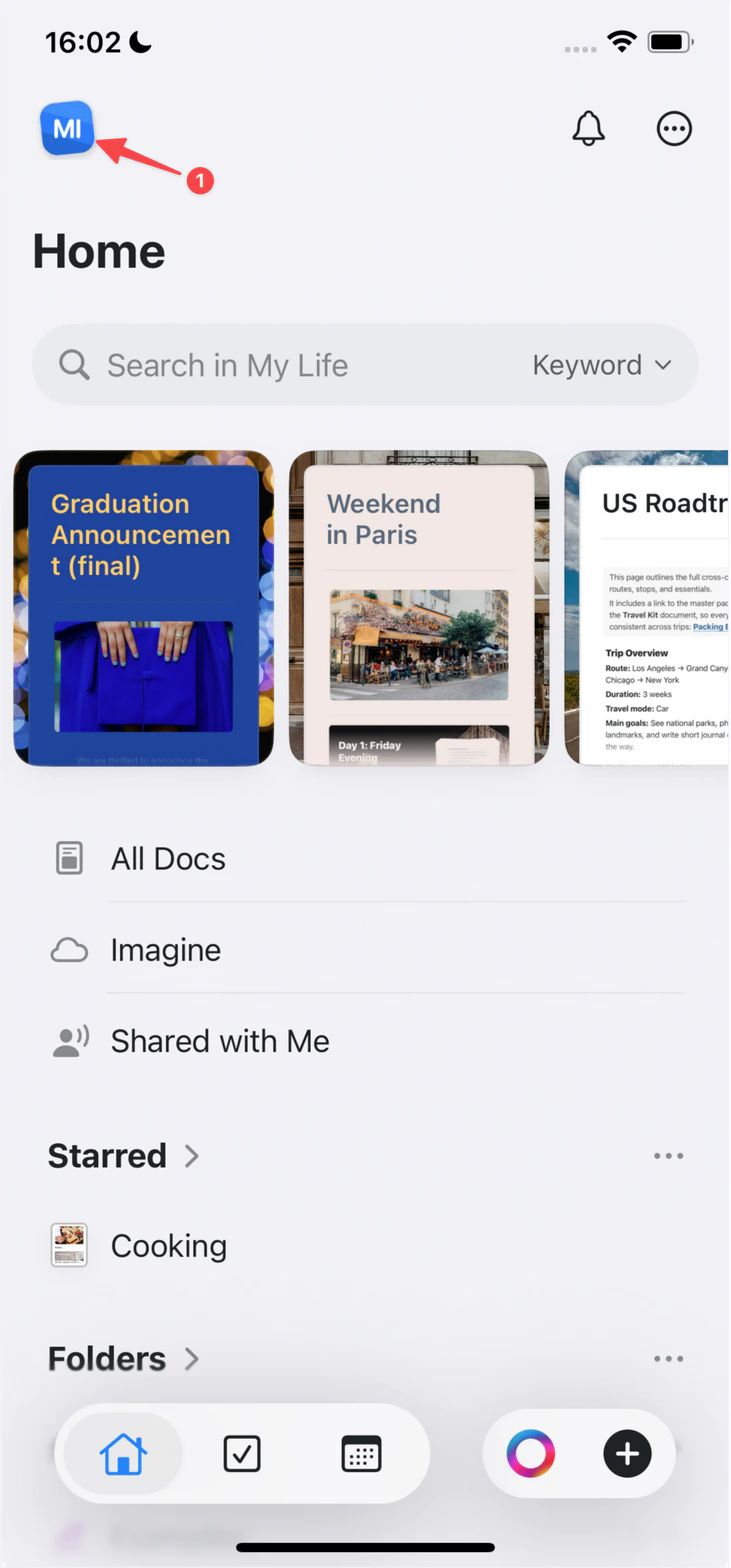
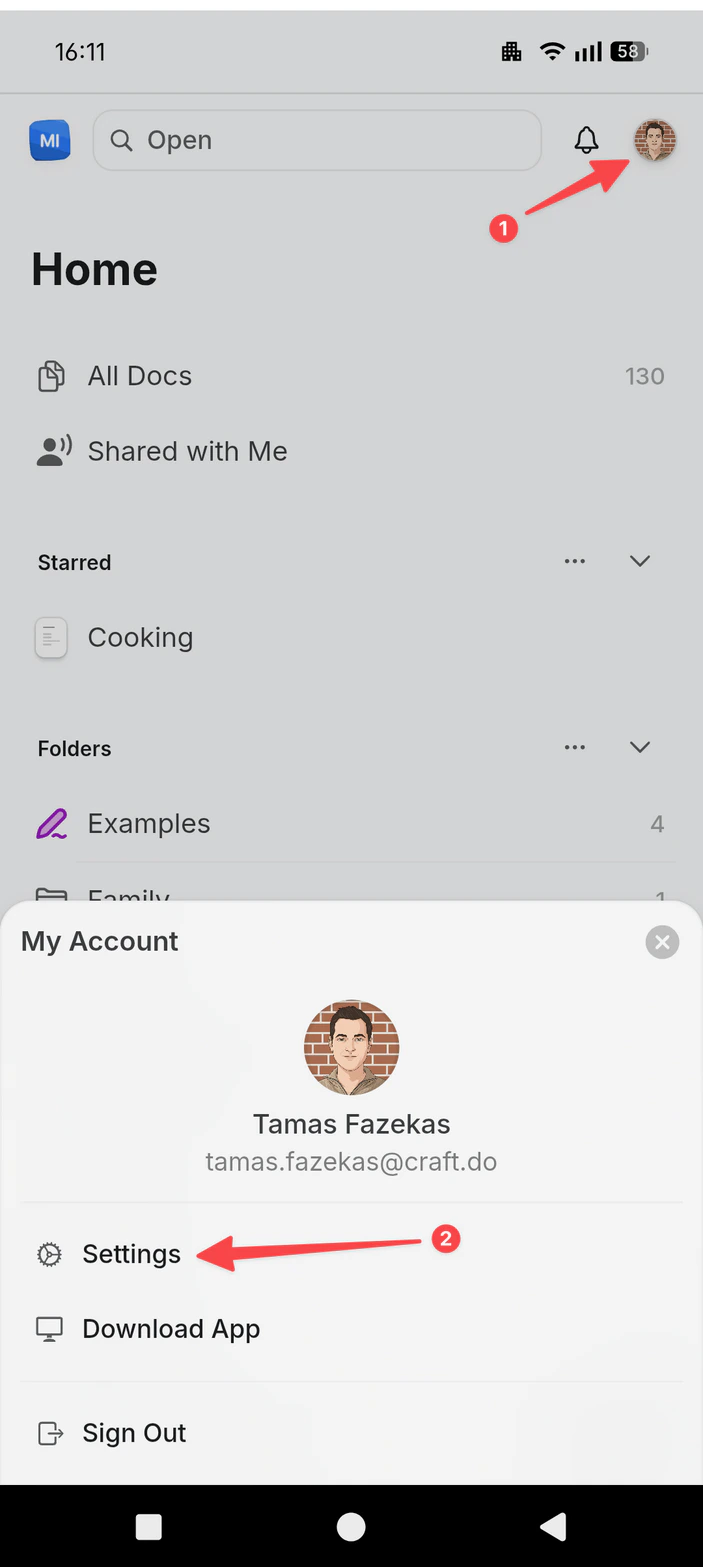
Click the Space name at the top of the sidebar to open Settings.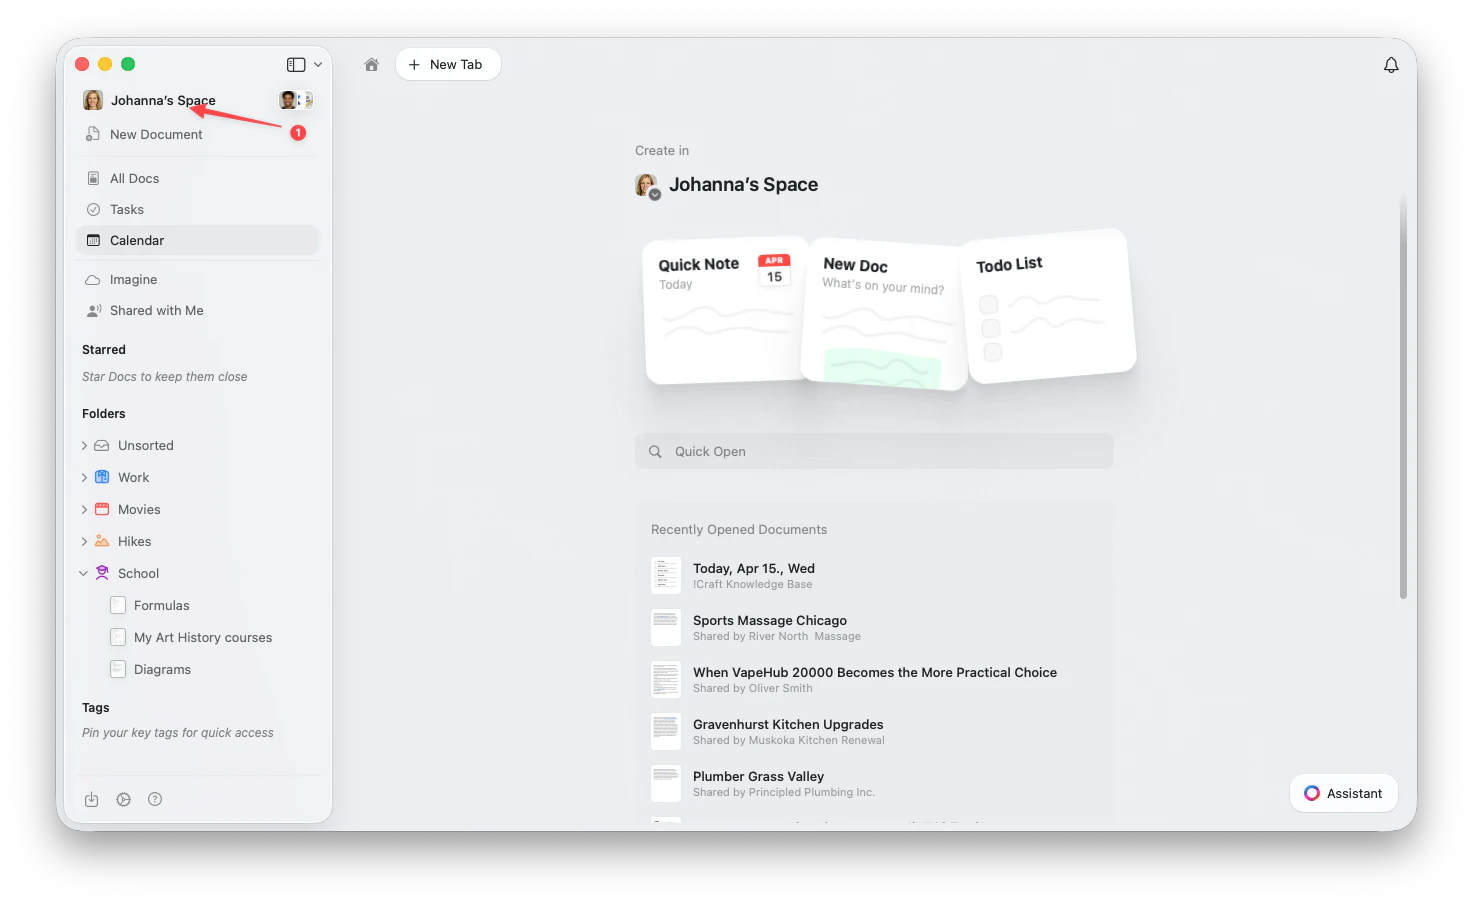
1
Select My Spaces in the settings panel.
2
Click Create New Space in the My Spaces panel.
3
Give your Space a name and configure the initial settings.
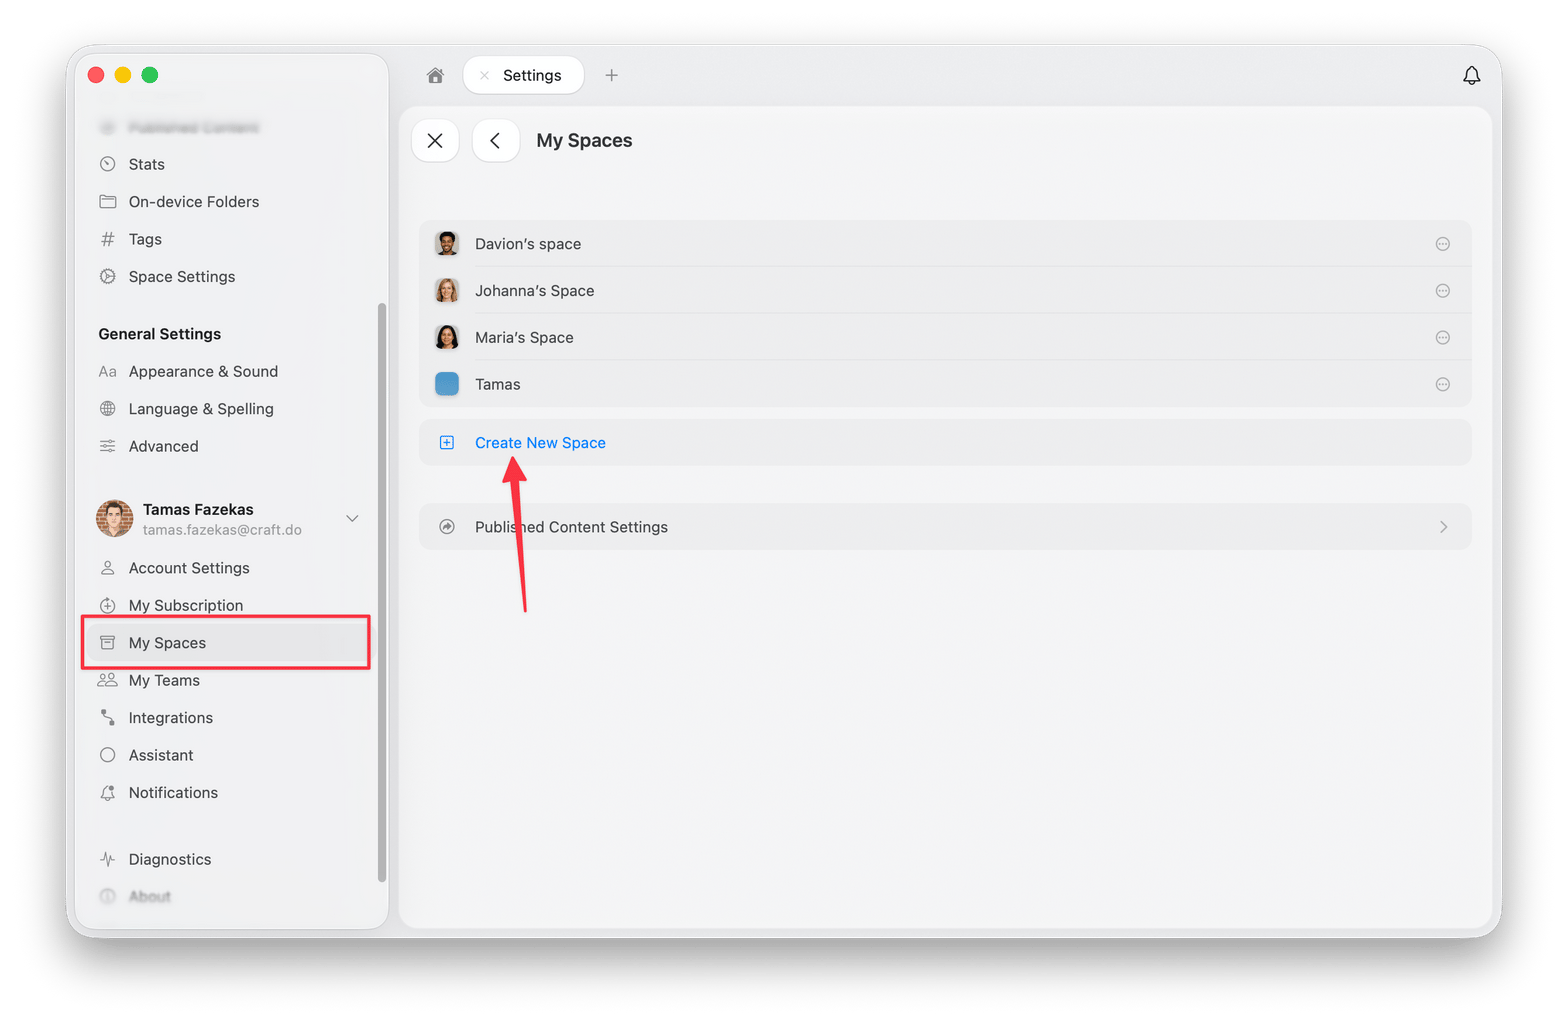
Your plan sets how many Spaces you can have. Once you reach that number, Create New Space is removed from the My Spaces panel instead of being shown as unavailable, so the option looks like it has moved or disappeared. Delete a Space you no longer need to free up a slot, or check Plans and Pricing for the limit on each plan.
Space Settings
Access Space Settings through Settings → Space Settings. The Space Settings section appears near the top of the settings panel.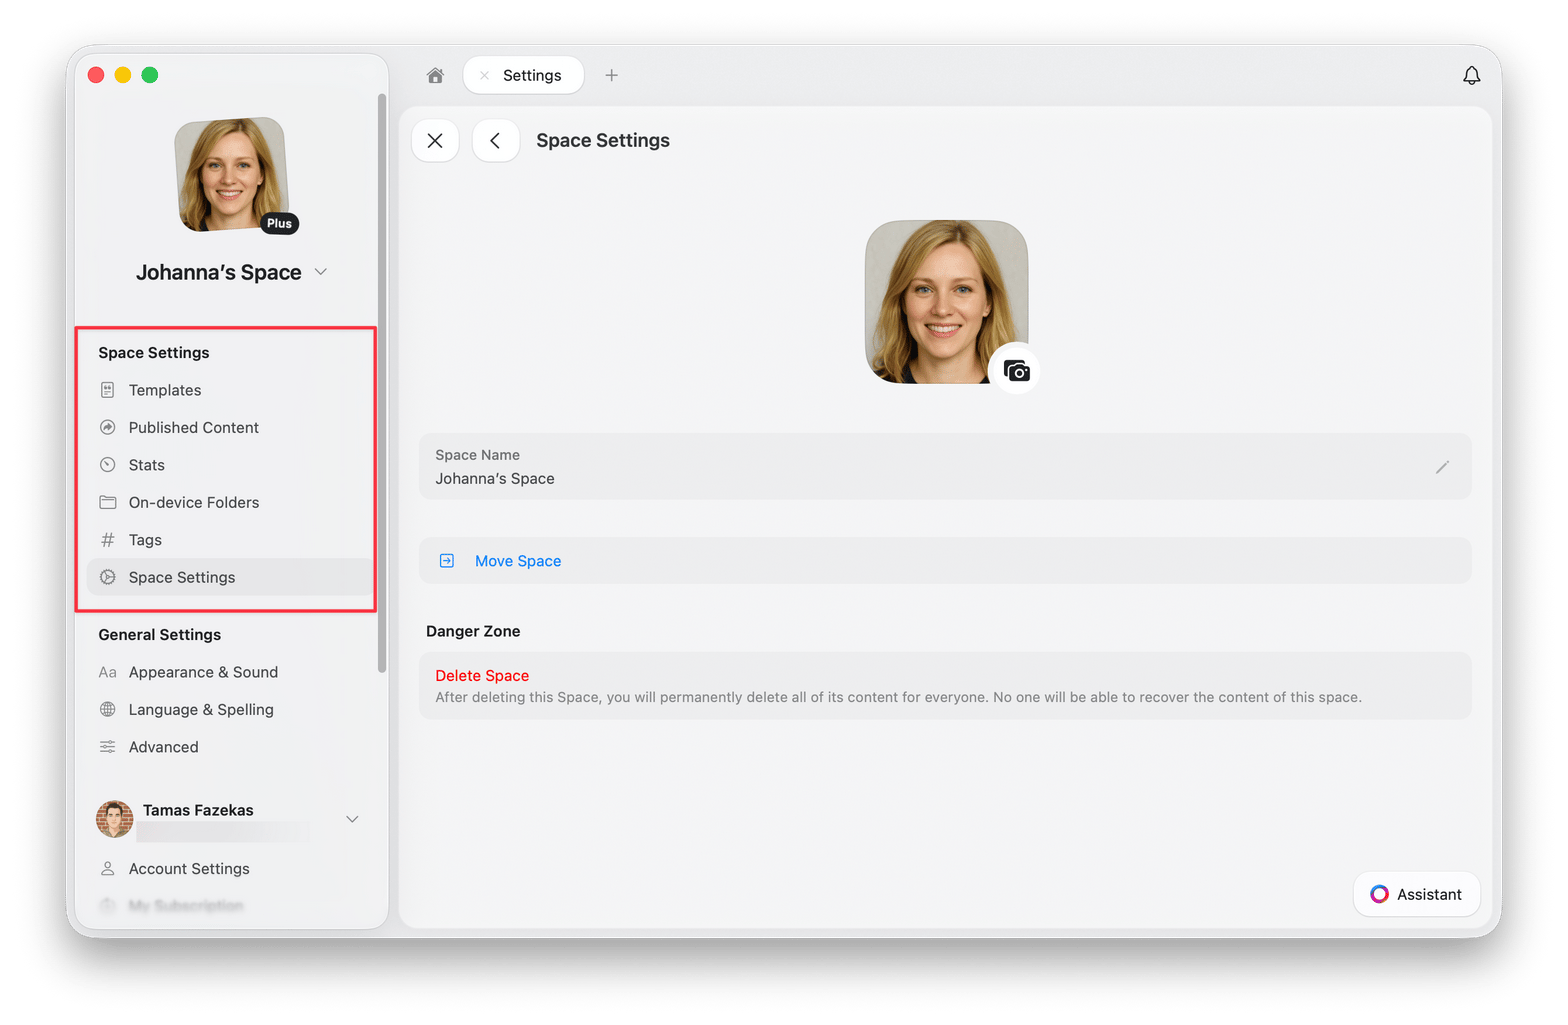
Available Options
- Templates - View and edit all templates created in this Space
- Published Content - Manage published pages and view their analytics
- Stats - Check storage limit, document count, blocks, pages, words, characters, and reading time
- On-device Folders - See which folders are downloaded locally
- Tags - Enable or disable tags and add custom tag rules
- Members & Invites - Manage Space members and pending invitations, if the Space is shared
- Space Settings - Change the Space name, move the Space, leave the Space, or delete the Space
Moving Documents Between Spaces
You can move documents between Spaces to reorganize your content. Select several documents first to move them in one action, with Shift + Click on macOS or by tapping and holding on iPad.- macOS
- iOS
- iPad
1
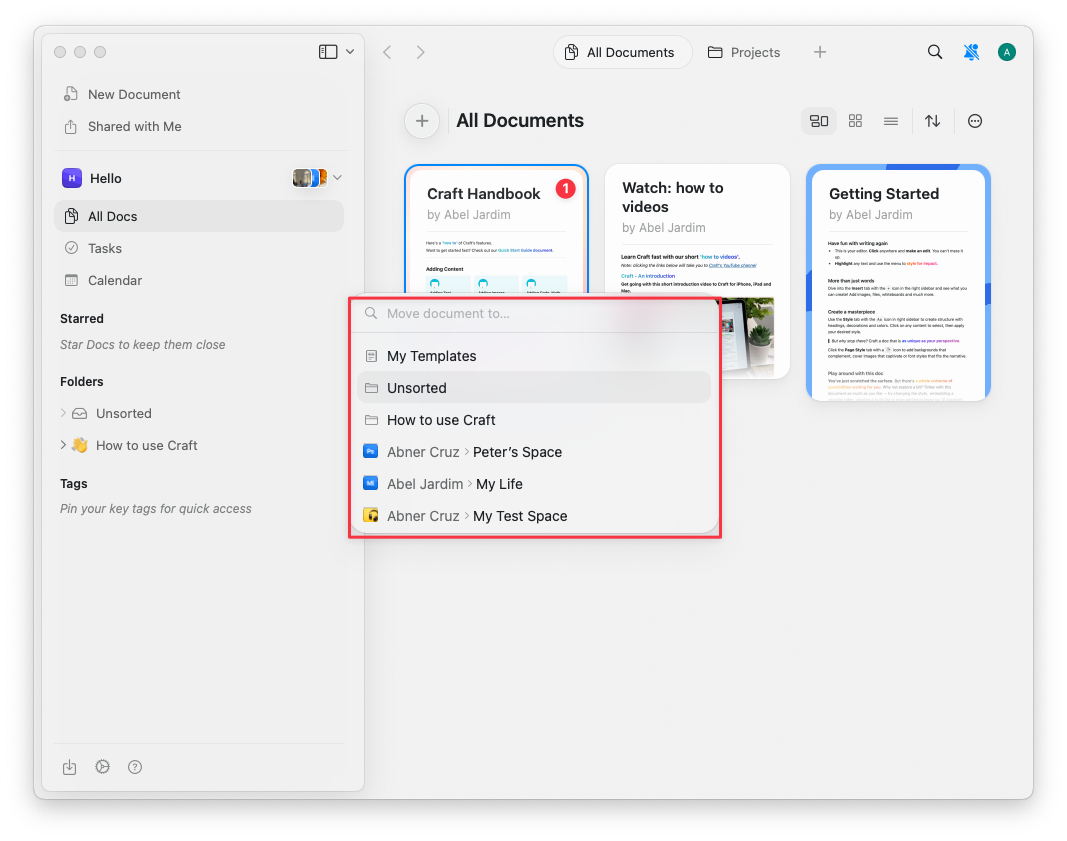
Select one or more documents in the sidebar, then right-click the selection.
2
Select Move To from the context menu, or press
Cmd + Shift + O.3
Choose the destination Space.
Merging Two Spaces
Spaces cannot be merged into each other. To bring everything together in one Space, move the documents across and then delete the Space you emptied.1
Open All Documents in the Space you want to empty
Switch to that Space and open All Documents, which lists every document in the Space in one place.
2
Select the documents
Select them with Shift + Click on macOS or by tapping and holding on iPad. The selection can hold as many documents as you need, so there is no need to move them one by one.
3
Move the selection
Right-click the selection, choose Move To, and pick the destination Space.
4
Rebuild the folders
Folders stay behind. Create the folders you want in the destination Space, then file the moved documents into them from Unsorted.
5
Delete the empty Space
Once the Space holds nothing you need, delete it from Settings → Space Settings.
The same steps apply when the destination is a shared or team Space. Everyone with access to that Space can then see the documents you moved, so review what is in the selection first.
Deleting a Space
To delete a Space:- Mac
- Web / Windows
- iOS
- Android
Click the Space name at the top of the sidebar to open Settings.
1
Go to Space Settings.
2
Scroll to the bottom and click Delete Space.
3
Confirm the deletion (this action cannot be undone).
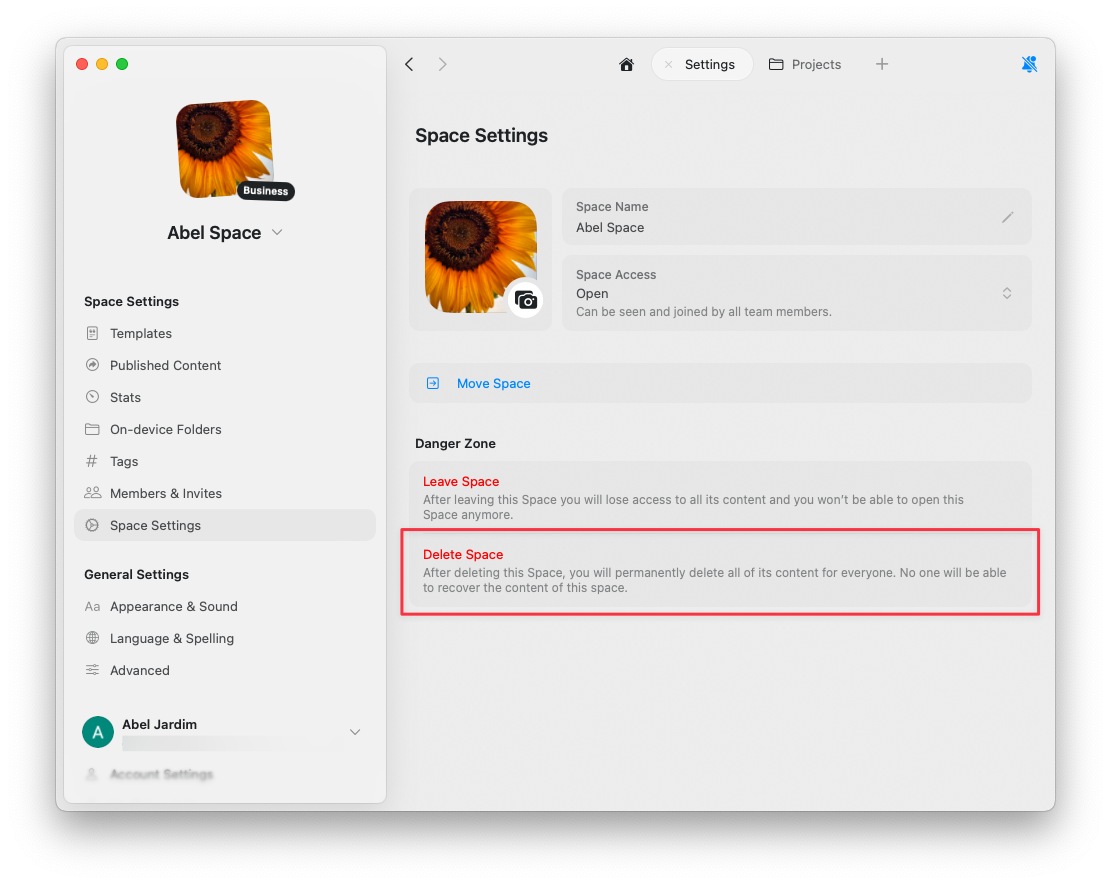
If the Delete Space option is greyed out, you’re viewing your default Space. Default Spaces (created automatically when you signed up) cannot be deleted as they’re a core part of your account structure.