> ## Documentation Index
> Fetch the complete documentation index at: https://craft-support.mintlify.site/llms.txt
> Use this file to discover all available pages before exploring further.
# Branding
> Display your logo on published pages to create a professional, branded experience for readers.
Make your published Craft documents reflect your brand identity. Your logo can be displayed on all published pages, appearing in both the page header and the browser tab.
Custom branding features are available on **Plus, Family, Team, and Business** plans.
## Logo on Published Pages
When enabled, your logo appears in the **top-right corner** of every published document and as the **browser tab favicon**. Readers can click the logo to visit a URL of your choice (e.g., your website).
 ## Enabling Your Logo
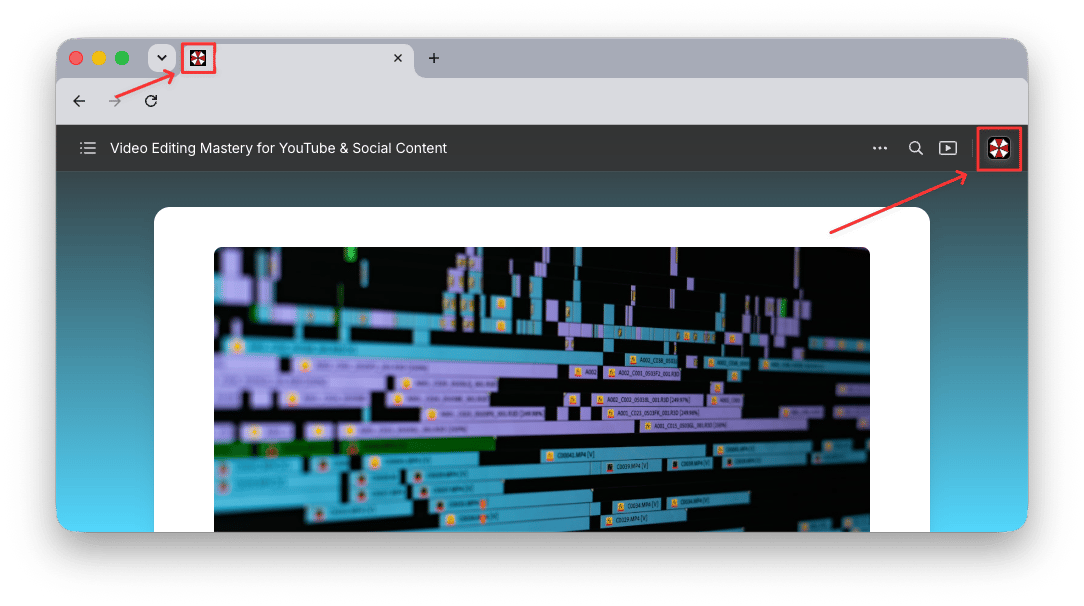
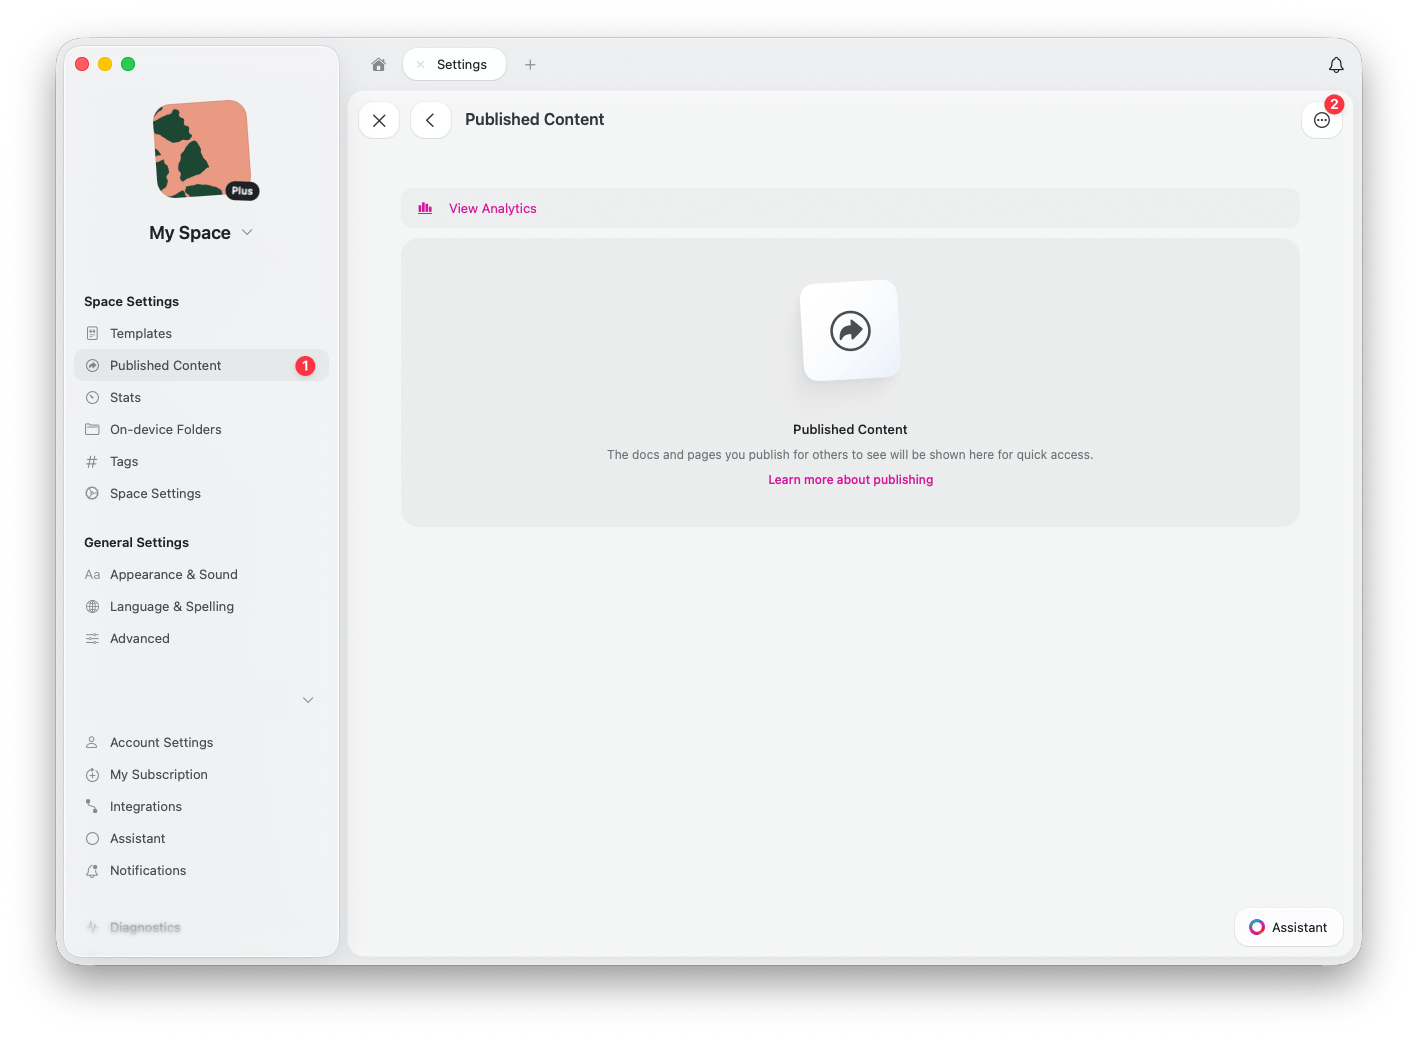
In the Craft Web or Desktop app, go to **Space Settings** > **Published Content**
Click the settings icon to access **Published Content Settings**
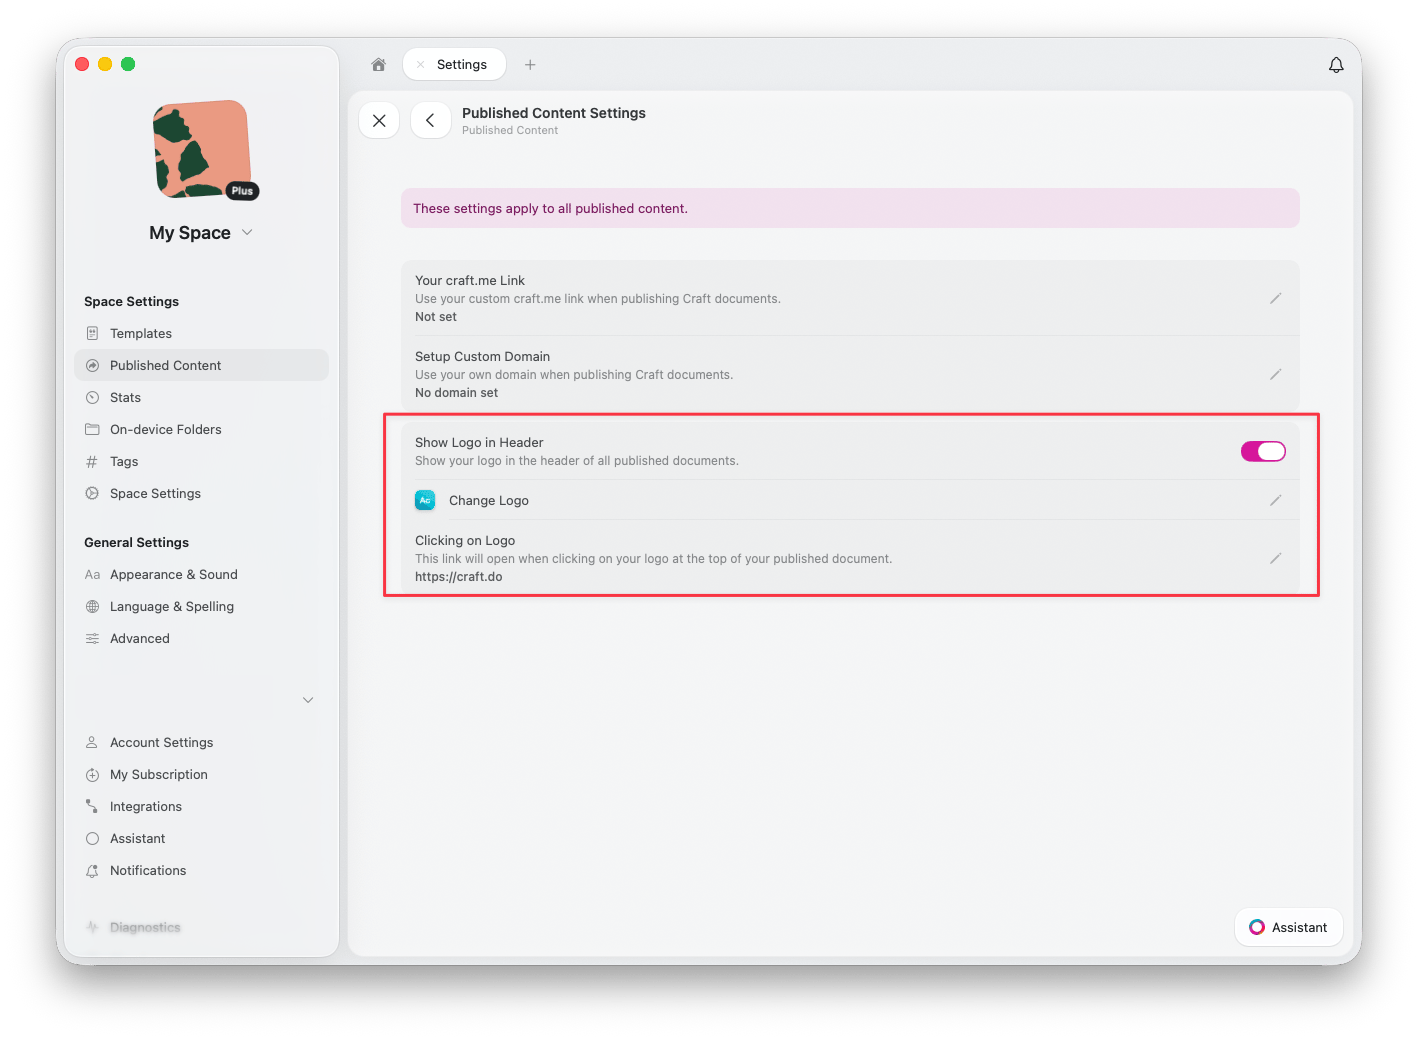
Enable **Show Logo in Header** to display your logo in the header of all published documents
Click **Change Logo** to upload or update the logo displayed on your published pages
Under **Clicking on Logo**, set the URL that opens when readers click your logo (e.g., your website homepage)
## Enabling Your Logo
In the Craft Web or Desktop app, go to **Space Settings** > **Published Content**
Click the settings icon to access **Published Content Settings**
Enable **Show Logo in Header** to display your logo in the header of all published documents
Click **Change Logo** to upload or update the logo displayed on your published pages
Under **Clicking on Logo**, set the URL that opens when readers click your logo (e.g., your website homepage)
 ## Combined Branding Features
Custom branding works together with other publishing features to create a complete brand experience:
**Custom Domains** -- Use your own domain (e.g., `blog.yourcompany.com`) instead of `craft.me`
**Logo** -- Display your logo on all published pages
**Custom craft.me Link** -- Personalize your craft.me URL to match your brand
Together, these features let you publish professional content that looks and feels like a seamless part of your brand, while leveraging Craft's powerful document features behind the scenes.
***
Connect your own domain to published content
Learn how to publish documents to the web
## Combined Branding Features
Custom branding works together with other publishing features to create a complete brand experience:
**Custom Domains** -- Use your own domain (e.g., `blog.yourcompany.com`) instead of `craft.me`
**Logo** -- Display your logo on all published pages
**Custom craft.me Link** -- Personalize your craft.me URL to match your brand
Together, these features let you publish professional content that looks and feels like a seamless part of your brand, while leveraging Craft's powerful document features behind the scenes.
***
Connect your own domain to published content
Learn how to publish documents to the web